Create Your First AI Influencer on DesiCMO: Step-by-Step Guide
What you'll build in this guide
By the end of this tutorial, you'll have a fully configured AI Desi influencer on DesiCMO Studio — with a locked face, a name, a niche, and your first generated content. Total time: under 10 minutes.
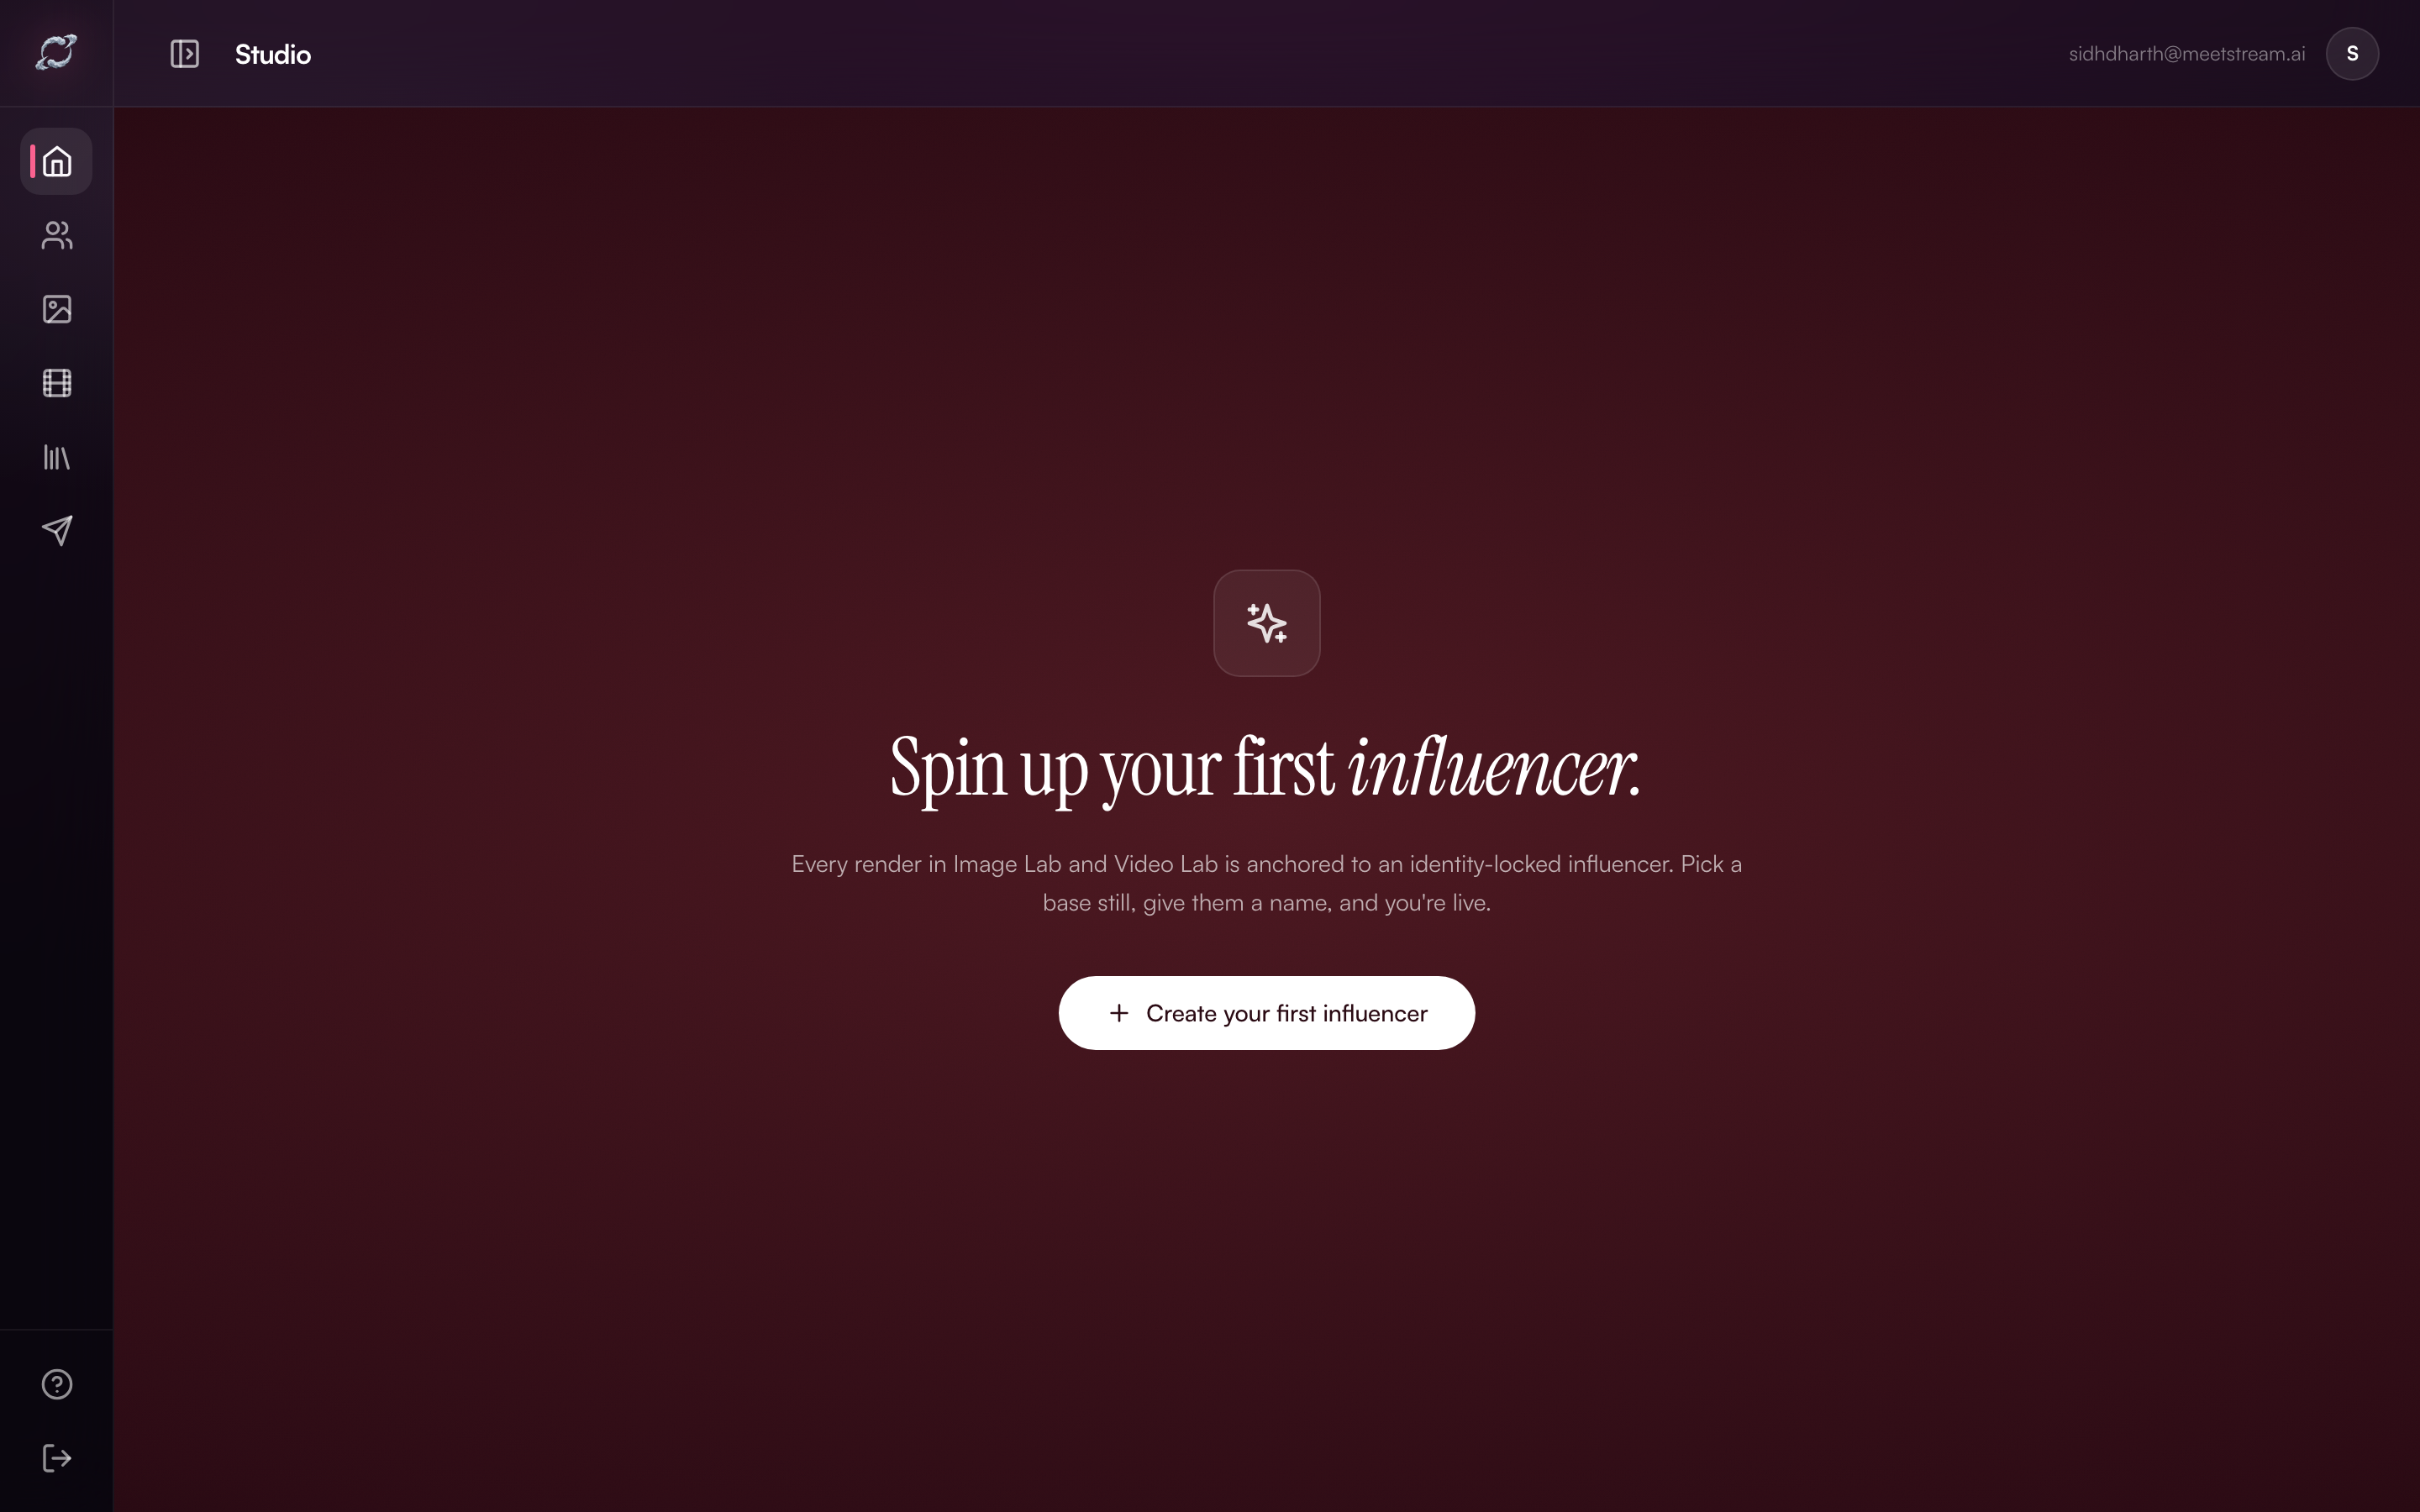 The DesiCMO Studio dashboard on first login. Every render starts here.
Prerequisites
- A DesiCMO account (sign up at desicmo.com)
- A clear base photo — the face that becomes your influencer's identity
- A product or brand brief you want to promote
Step 1: Open DesiCMO Studio
After signing in, you'll land on the Studio dashboard. If this is your first time, you'll see the empty state with a single prompt: "Spin up your first influencer."
Click + Create your first influencer to open the creation wizard.
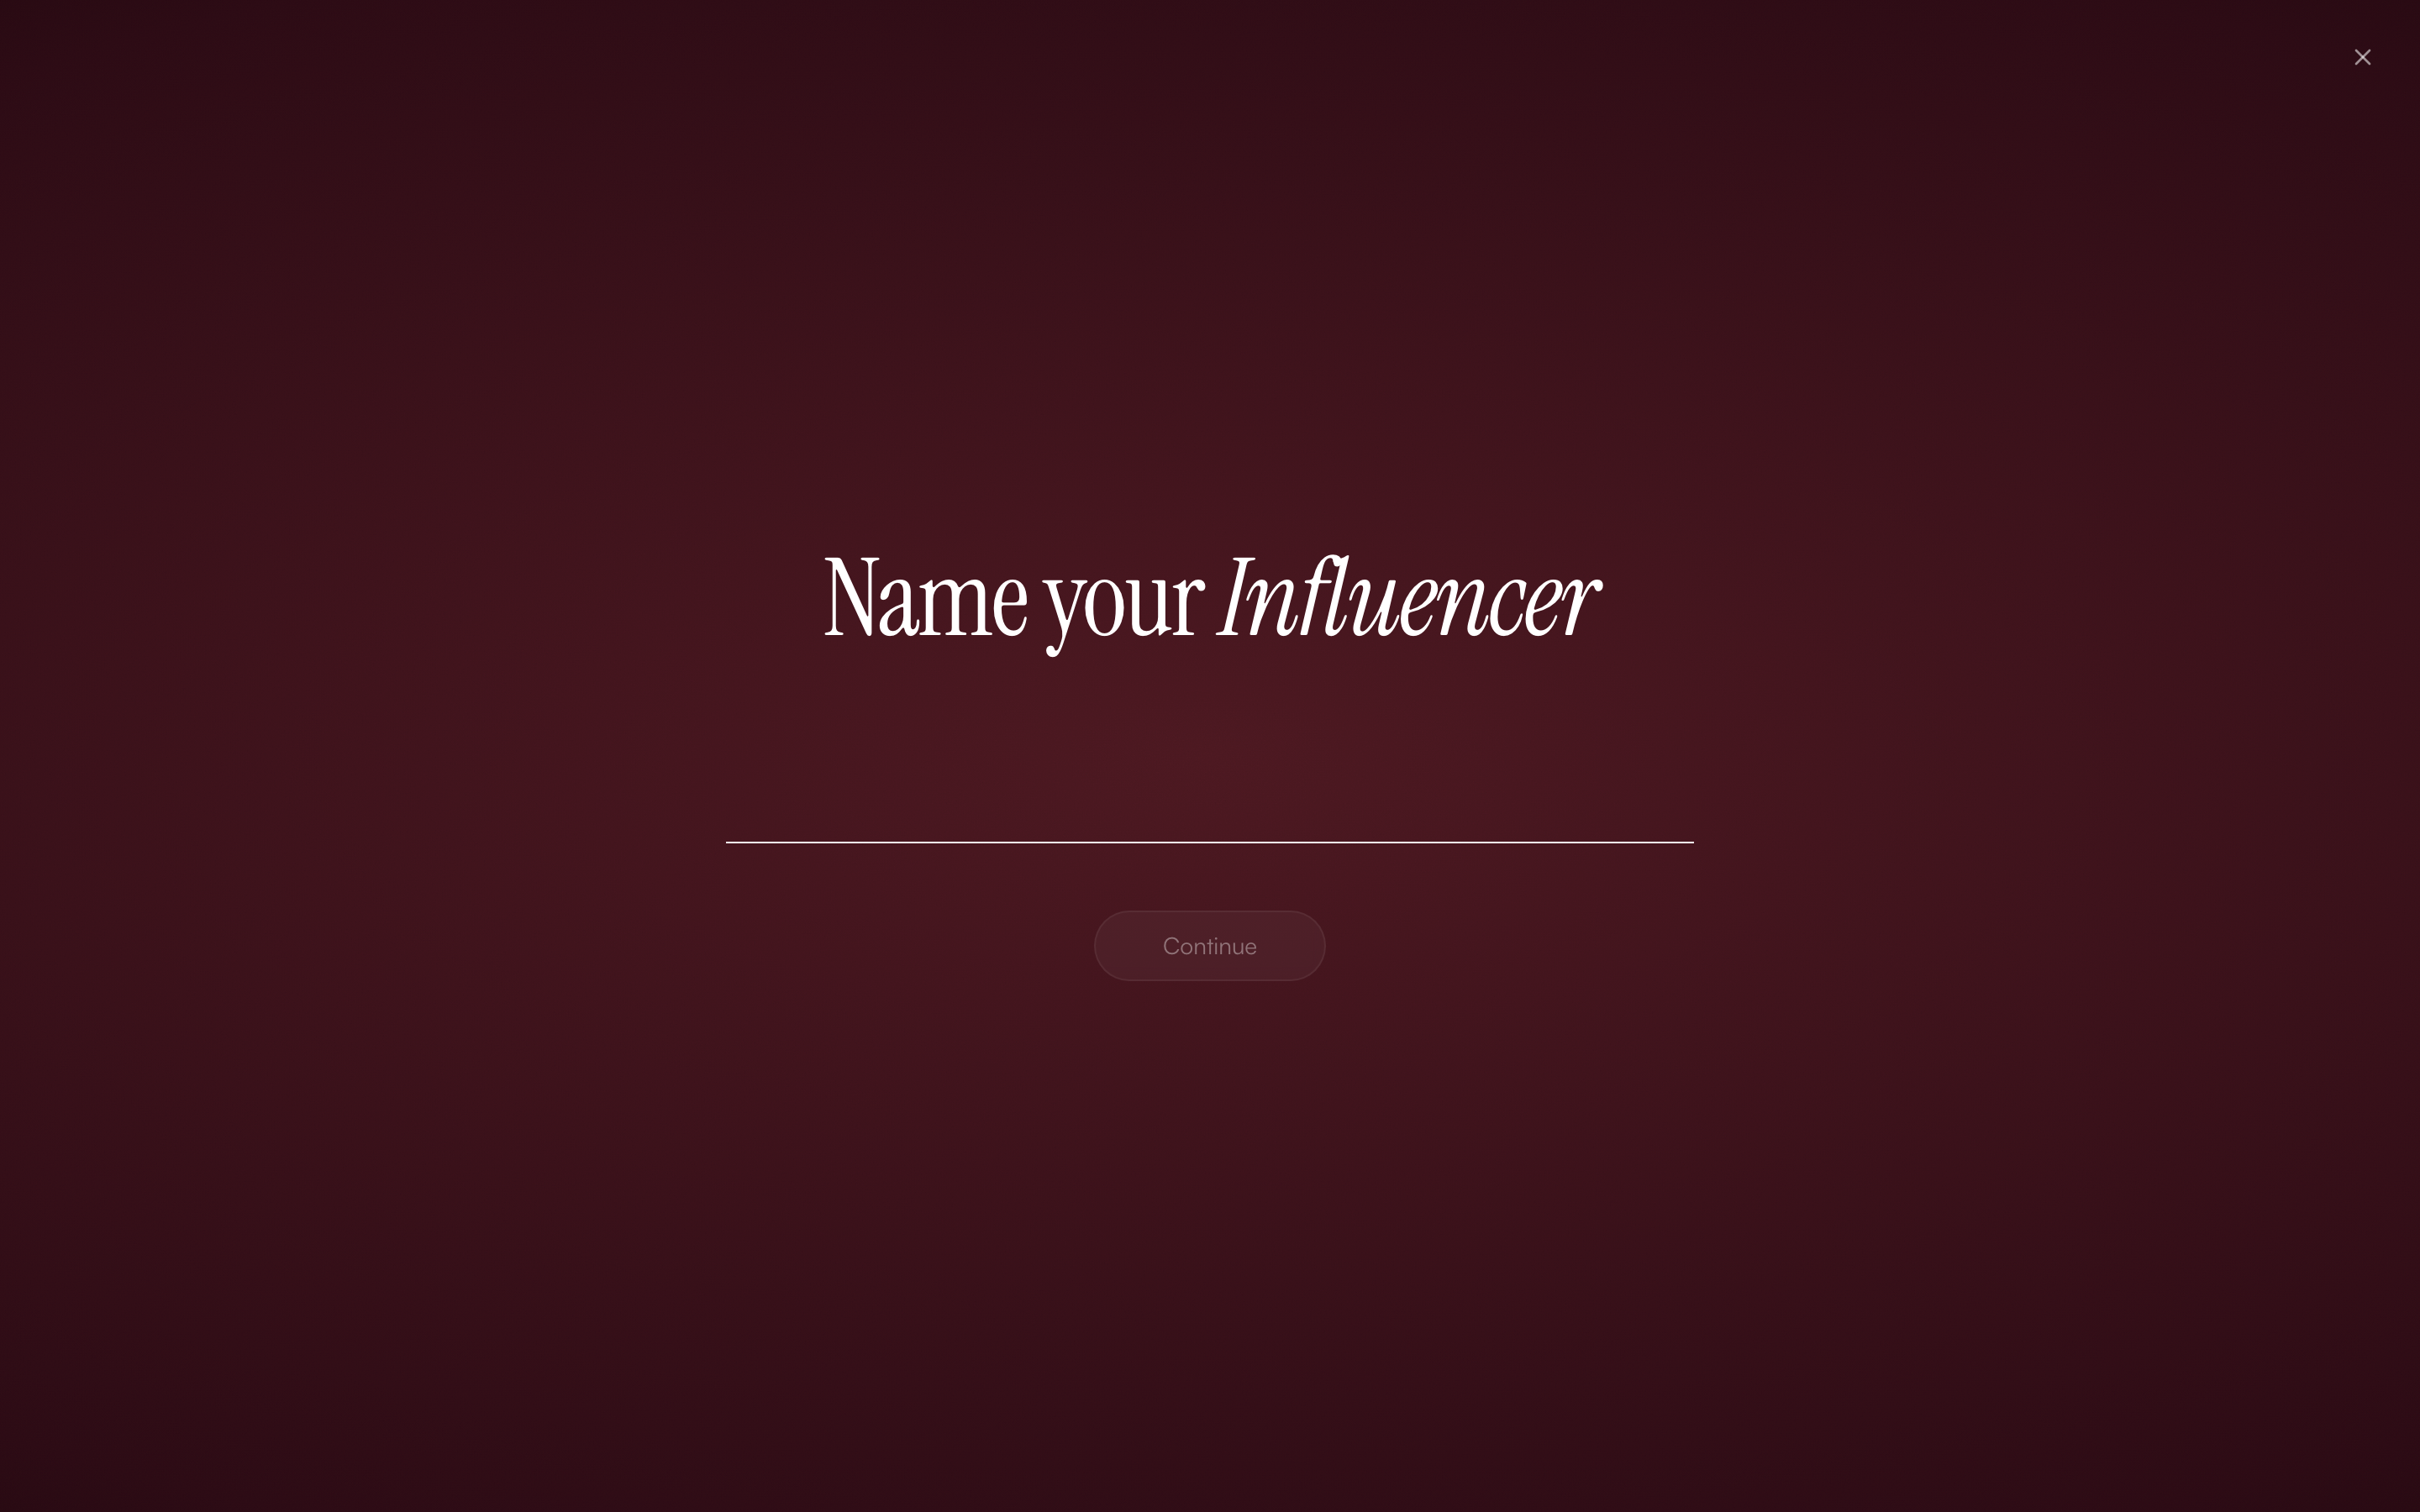
The Create Influencer wizard opens with a single focused question: what's her name?
Step 2: Name your influencer
The first screen asks for a name. This is the identity anchor — everything from your Image Lab prompts to your Video Lab scripts will reference this name.
Choose a name that fits your brand:
- Aanya — warm, beauty-forward, Indian lifestyle
- Riya — professional, SaaS-forward, co-working aesthetic
- Kavya — fitness, wellness, athletic
- Simran — fashion, GRWM, style-led
- Or any name that fits your brand voice
Type the name and click Continue.
Step 3: Upload your base still
The base still is the photo that becomes the identity lock. The AI models the face from this image and uses it as the consistent anchor for every future generation.
Best practices for base stills:
- Use a front-facing, well-lit photo — avoid heavy shadows
- Photo should be 500px minimum width, ideally 1024px+
- Plain or blurred backgrounds work best
- Natural makeup, no heavy filters or heavy editing
- Indian or South Asian features will generate the most contextually consistent content
Upload the photo and click Continue.
Step 4: Configure niche and personality
After the base still, you configure two key parameters:
Niche — what category of content this influencer creates:
- Beauty & Skincare
- Fashion & Style
- Fitness & Wellness
- Food & Lifestyle
- Tech & SaaS
- Finance & Investment
- Travel & Hospitality
Personality — the voice and tone of her content:
- "Warm, relatable, friend energy, beauty-focused Hinglish"
- "Professional, analytical, LinkedIn-friendly Hinglish"
- "High-energy, motivational, fitness-focused"
The personality setting directly affects how Image Lab and Video Lab write captions and scripts. A well-described personality = dramatically better outputs.
Step 5: Review and confirm
The final screen shows a summary:
- Influencer name
- Base still preview
- Configured niche and personality
Click Create Influencer to lock the identity.
Your influencer is now created and appears in your Influencer Registry.
Step 6: Navigate to Image Lab
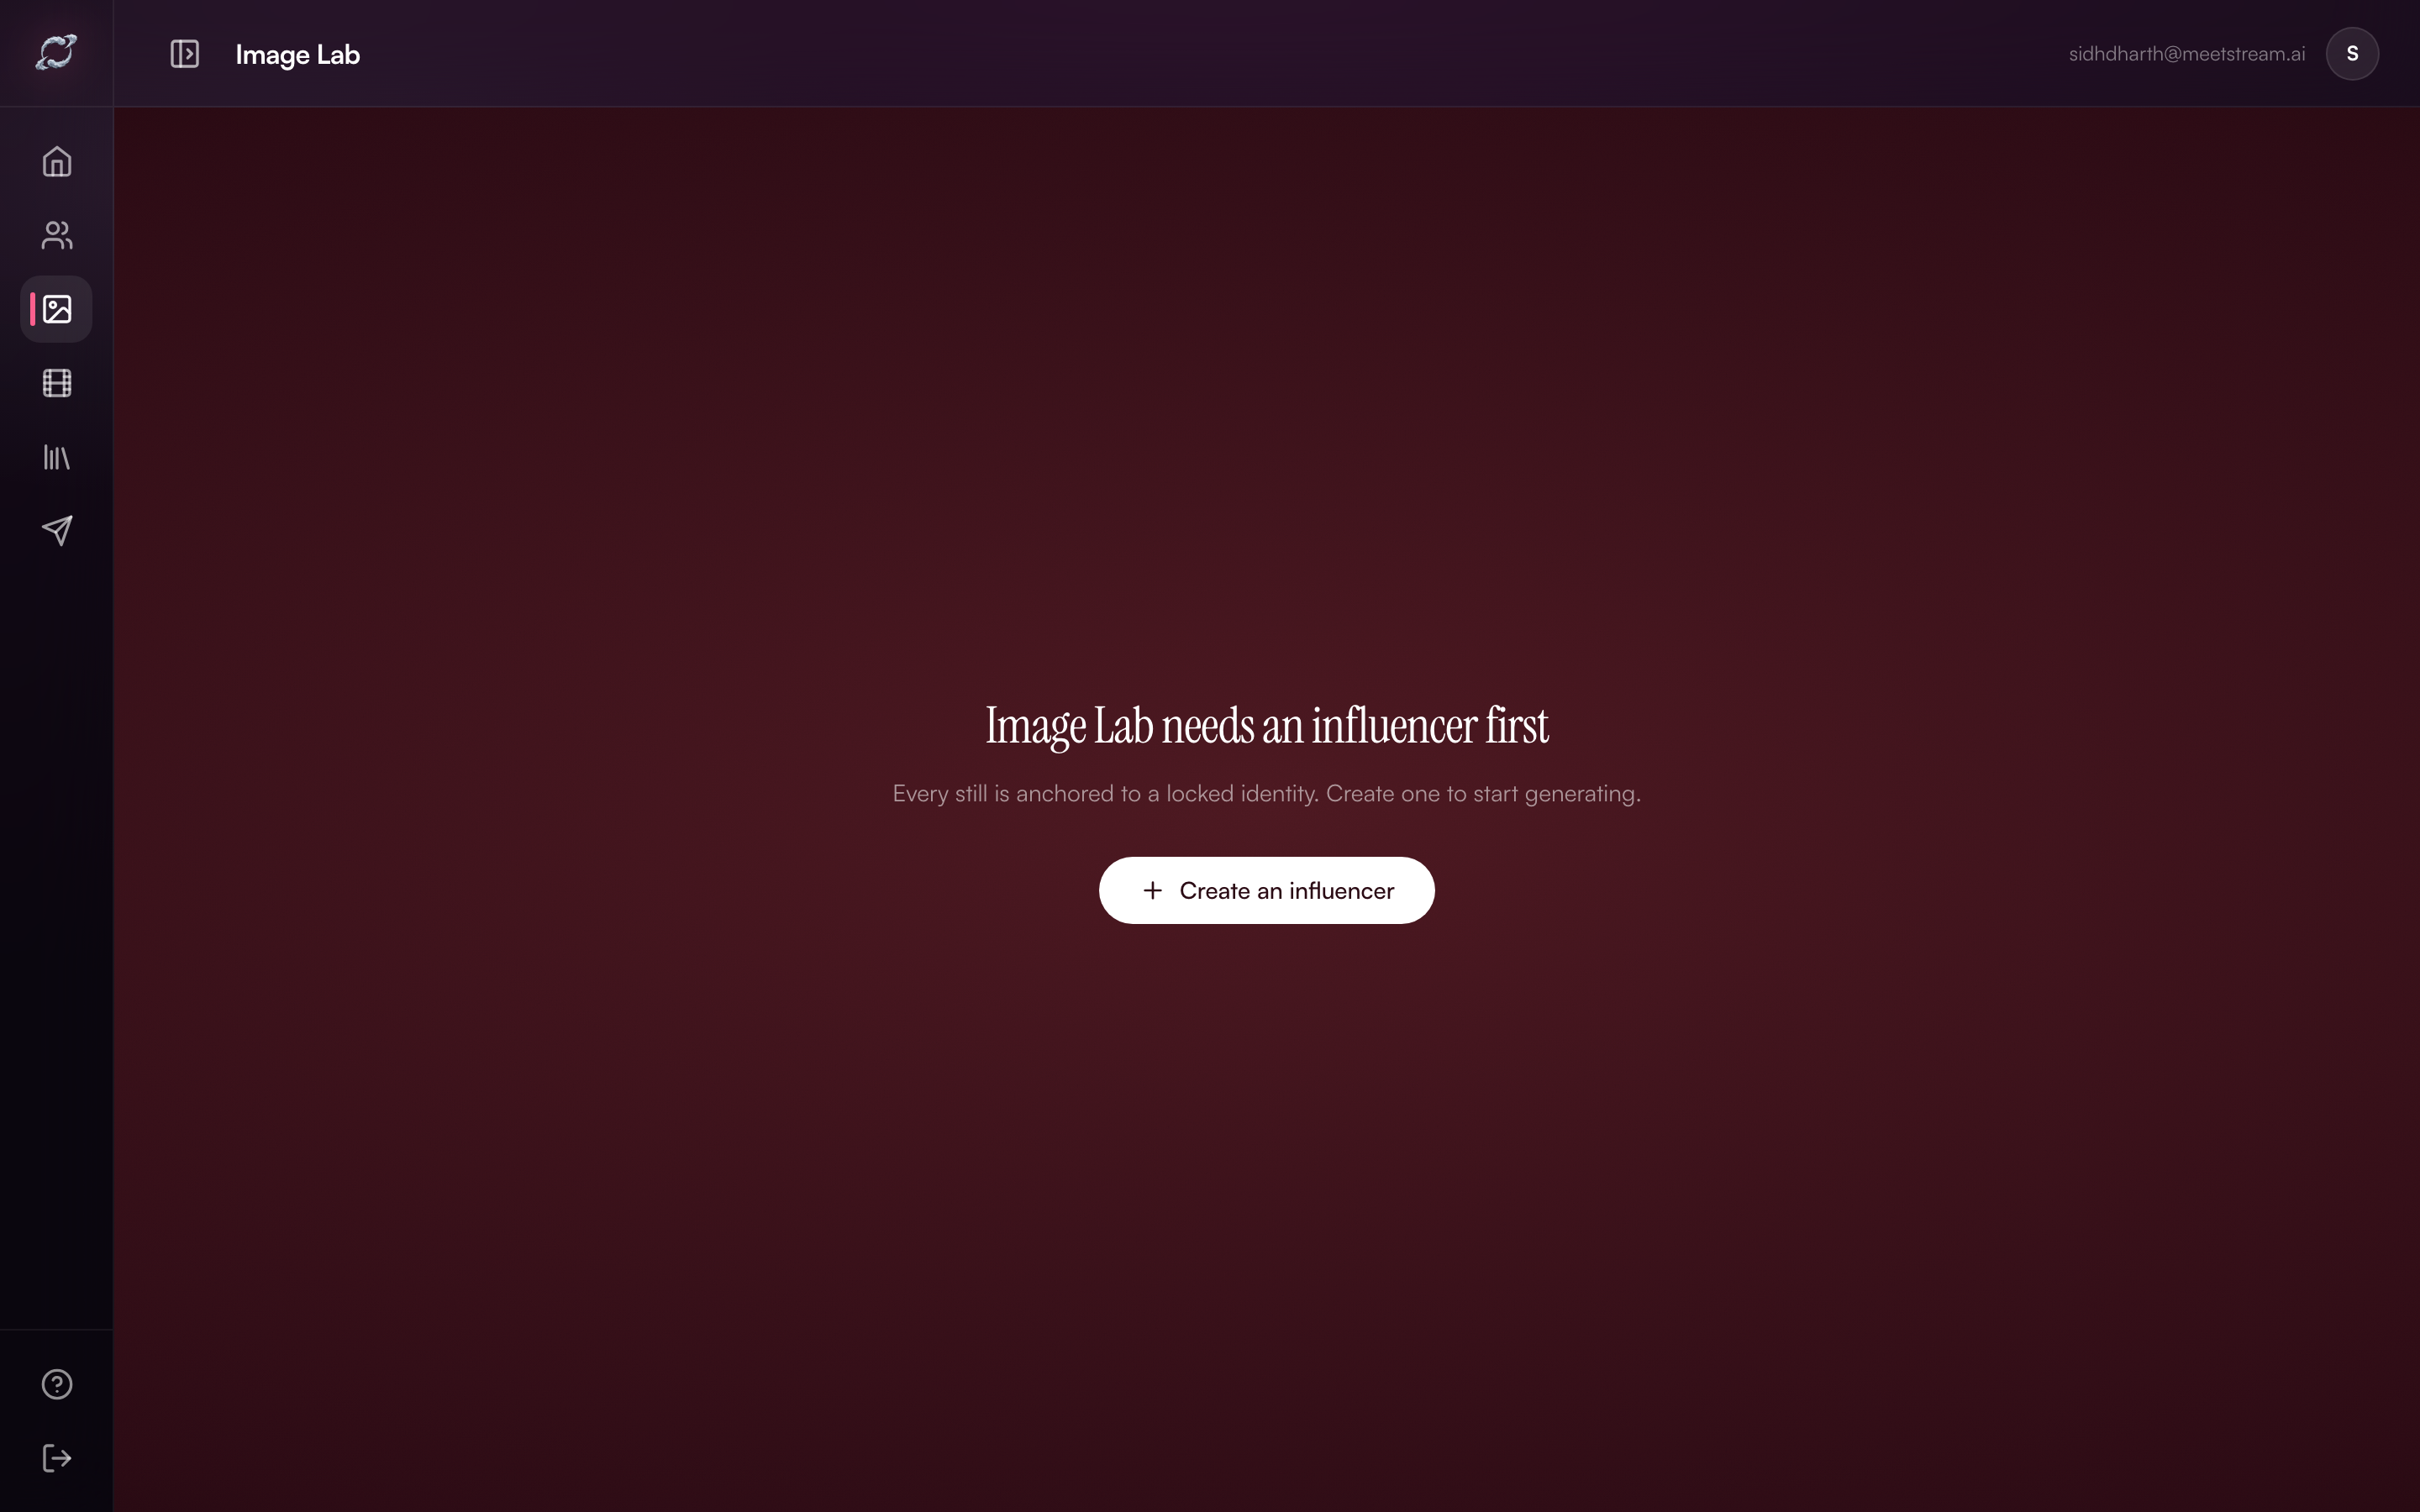 Image Lab with your influencer selected. The prompt field is ready.
Click the Image icon in the left sidebar to open Image Lab.
Select your newly created influencer from the dropdown at the top.
Now you're ready to generate your first content still.
Step 7: Write your first prompt
A good Image Lab prompt has three elements:
- Scene — where is she? ("sitting at a vanity mirror")
- Product context — what is she holding or referencing? ("holding a serum bottle by [Brand]")
- Vibe — what's the mood? ("warm golden morning light, relaxed, genuine smile")
Example prompt:
"Aanya sitting at her vanity mirror in a warmly lit bedroom, holding [BrandName] Vitamin C serum, warm golden morning light, relaxed authentic expression, visible brand label on bottle"
Click Generate and wait 20–30 seconds for your first AI influencer still.
Step 8: Use Video Lab for Reels
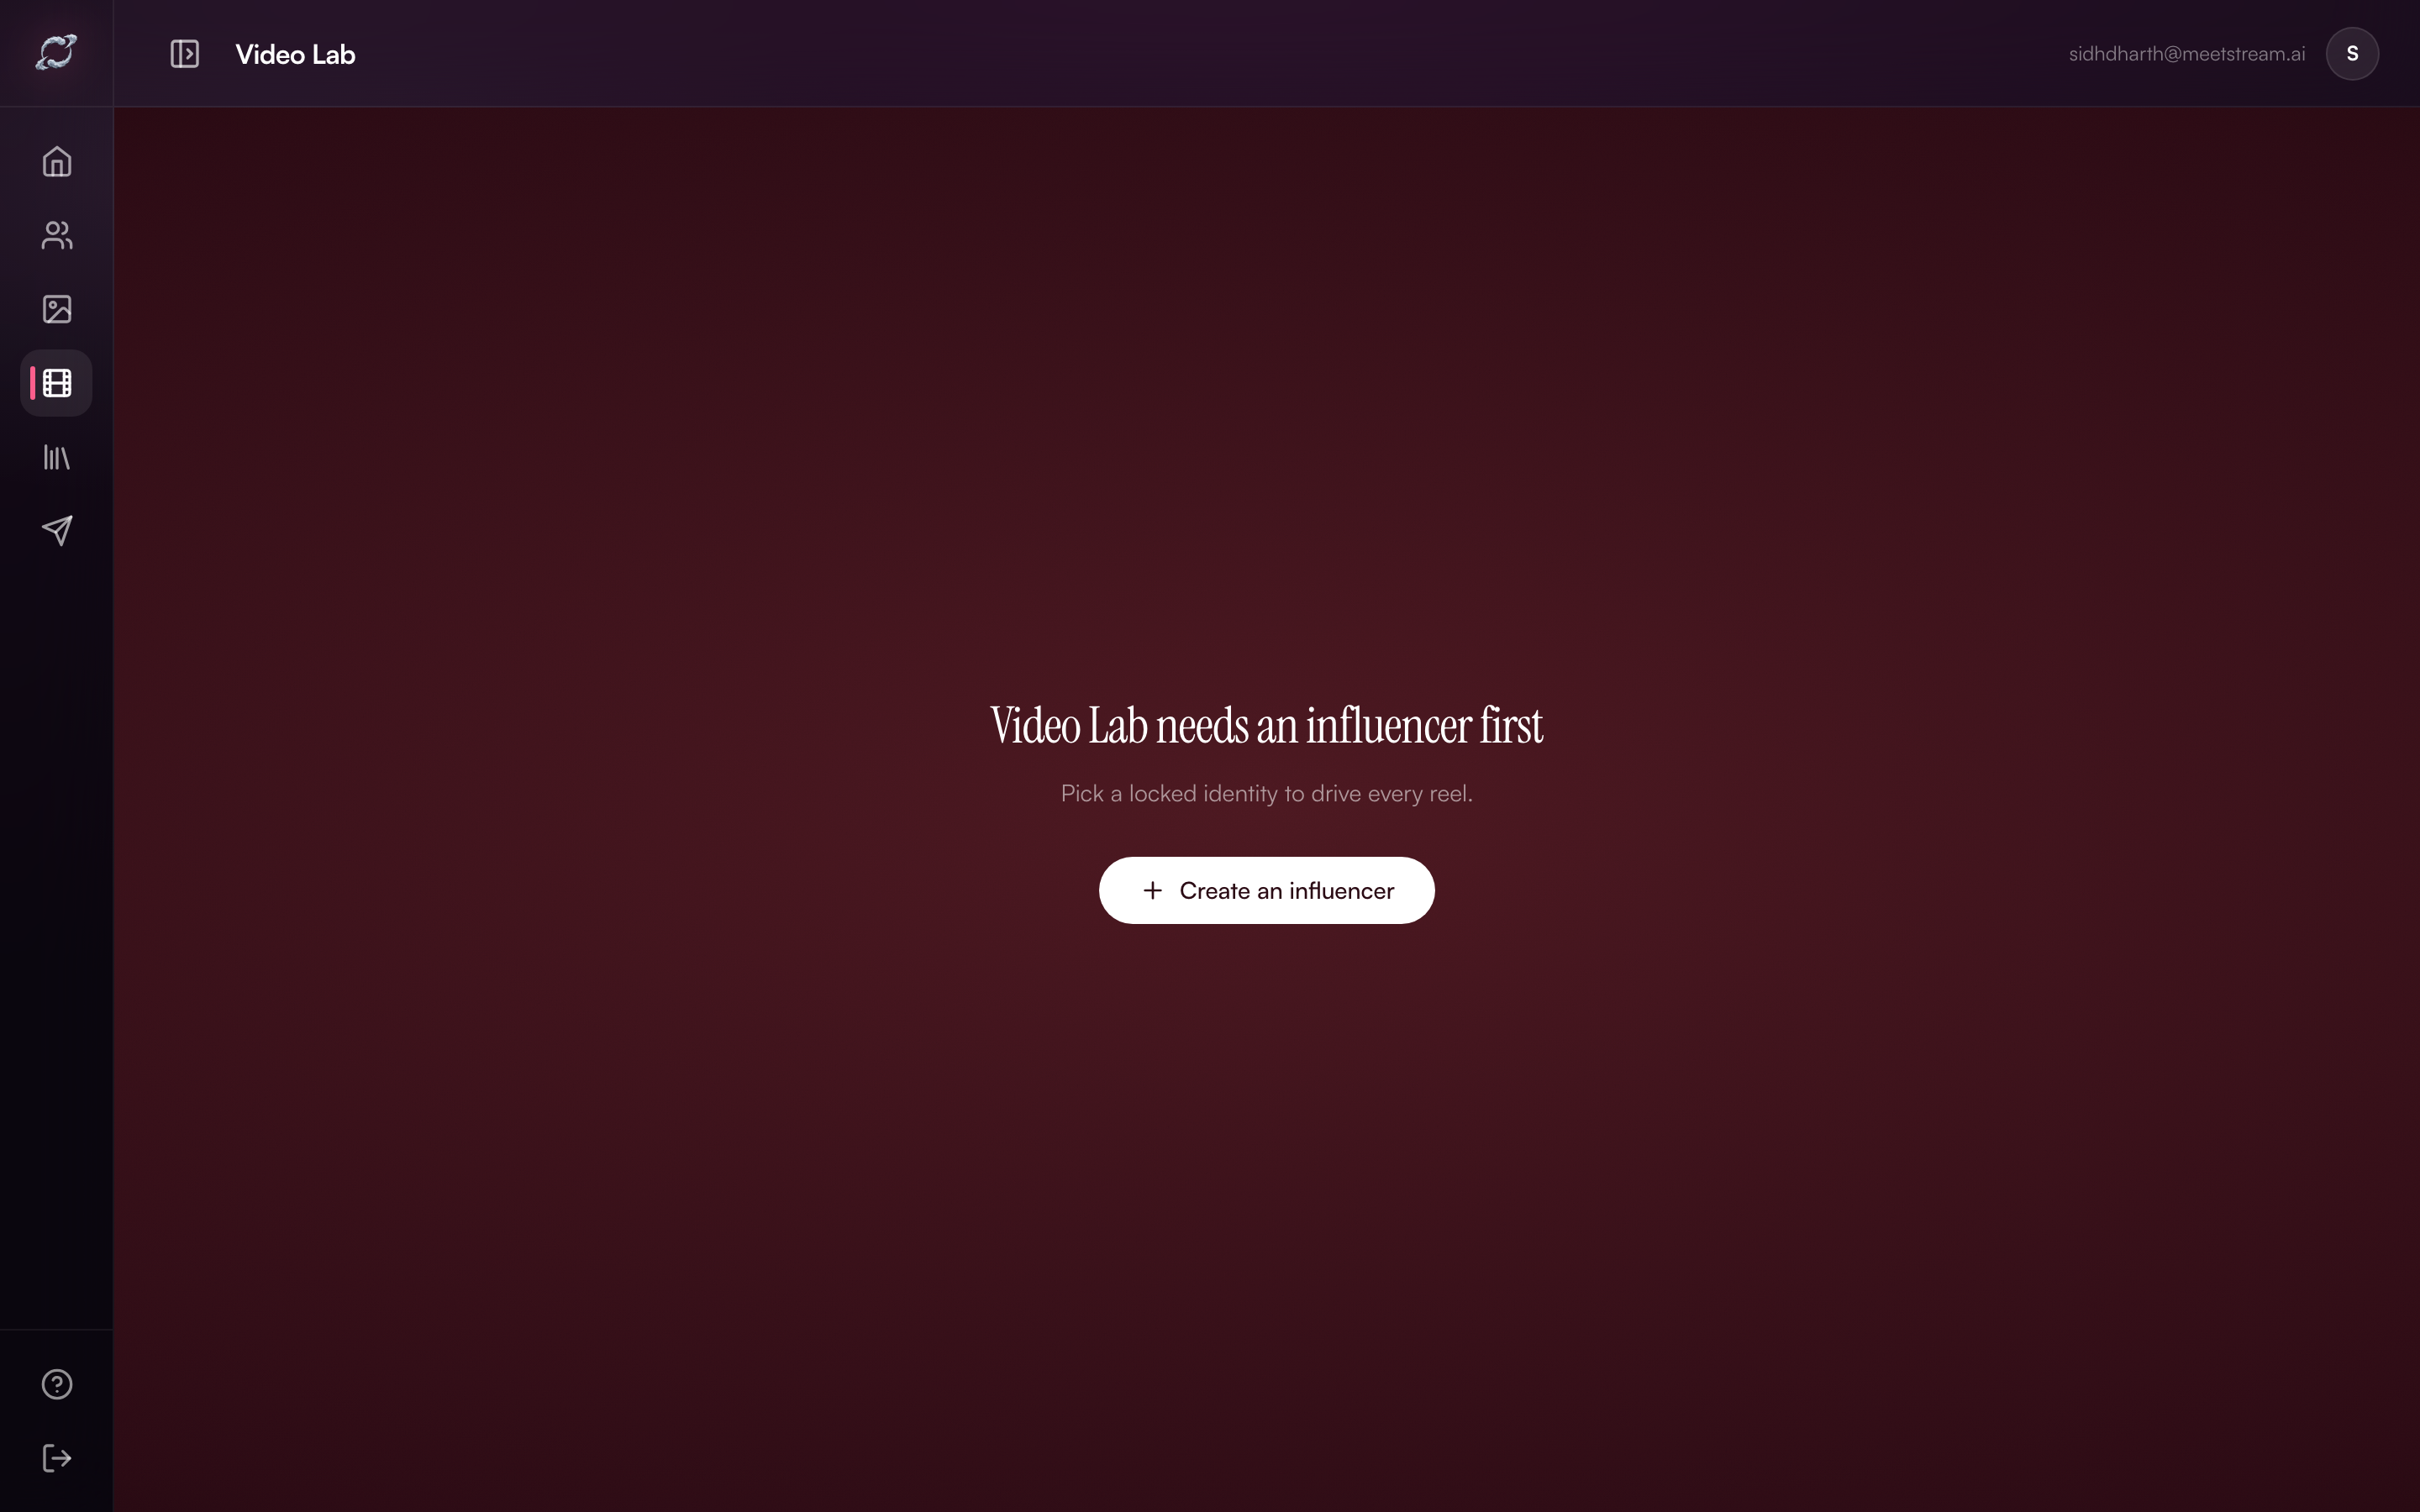 Video Lab shows the same influencer with three generation modes: Free Prompt, Challenge Mode, and Script Mode.
For your first Reel, use Free Prompt Mode:
- Select your influencer
- Write a 1–2 sentence script: "Yaar, mujhe finally ek serum mila jo actually kaam karta hai. [Brand] Vitamin C — 7 days mein glow clearly visible tha."
- Select duration (15 or 30 seconds)
- Click Generate
Common first-time mistakes to avoid
| Mistake | Fix |
|---|---|
| Low-res base still (under 300px) | Use a clean 800px+ front-facing photo |
| Generic personality description | Be specific — name the tone, voice, and content style |
| Vague prompts ("product photo") | Include scene, product name, brand, lighting and emotion |
| Skipping niche selection | Niche selection affects model output direction significantly |
What's next
Once you've created your first influencer and generated a still, you're ready to:
- Build a content library in Asset Library
- Set up recurring post templates for your brand
- Explore Challenge Mode to clone trending Reels formats
Ready to spin up your own Desi AI influencer?
Pick a base still, lock the identity, and ship your first Reel this evening.
Open DesiCMO Studio →